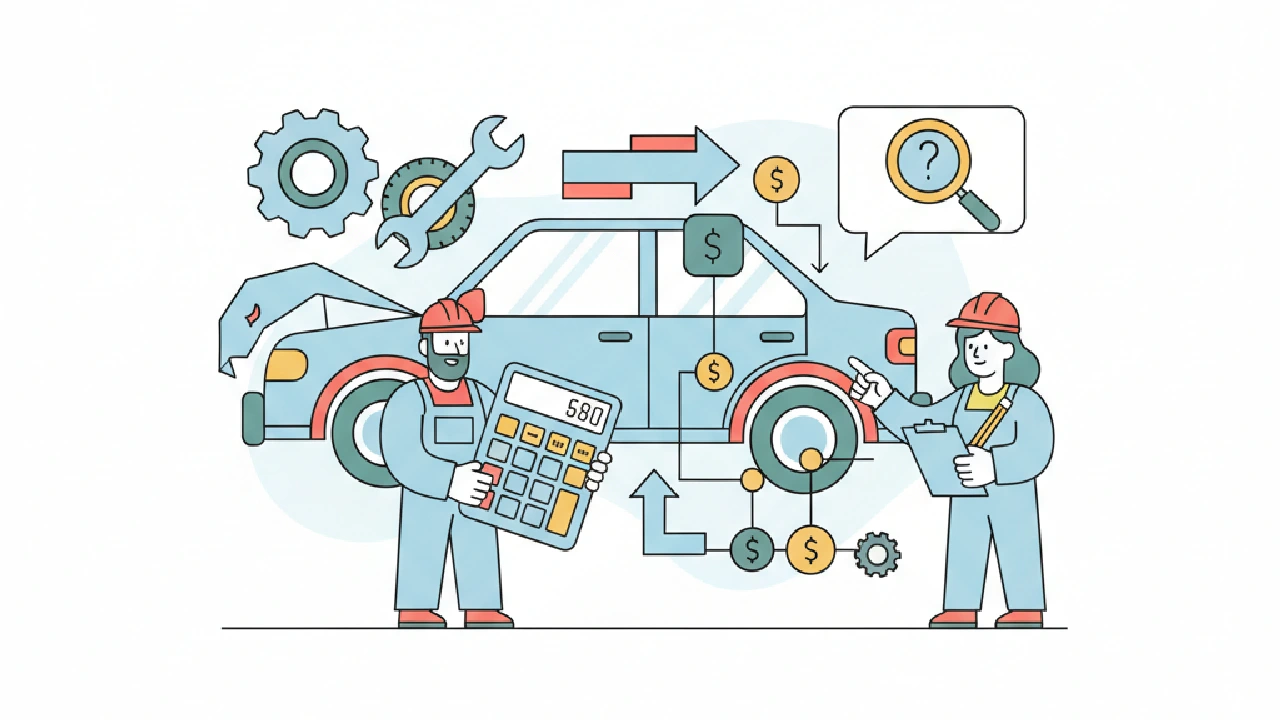
Before you click "place bid," you need a salvage auction repair estimate. No fluff. No guessing. I’ll walk you through the exact checklist I use before auction day: how I calculate a max bid, spot title risk, size the spread, and budget transport and repairs. Read this like a field briefing for a partner who’s driving to the yard tomorrow.
Core idea — profit starts with a realistic repair estimate
If your estimate is wrong, your margin dies fast. The core idea is simple: build a bottom-up repair estimate, add buyer fees and transport, then subtract everything from your target resale price to get your max bid. If any link in that chain is weak—hidden damage, title traps, or bad comps—you lose money. Do the work before the gavel drops — analyze a salvage auction lot like a pro.
1) Max-bid math — the formula I use
Keep the math tight. I work backwards from my target sale price (ARV — after-repair value). Then I subtract repairs, buyer fees, transport, and a contingency. Whatever remains is the absolute highest I will bid. Don’t get cute. If you want an auction-specific bidding framework, see guidance on setting your Copart max bid without overpaying.
- Start with ARV (after-repair value) inside your normal comp radius.
- Estimate parts, labor, paint, and materials for the damage shown.
- Add buyer fees, auction fees, and transport to your yard.
- Reserve a contingency for hidden damage.
- Max bid = ARV − (all costs) − target profit.
Be disciplined. If your max bid is outbid, walk away. Decide your max bid in advance and set a hard stop in AutoFlip Pro’s Analyze Vehicle (use the Max Bid Calculator) — don’t chase price after the auction.
2) Estimating parts and labor — practical rules, not guesswork
Look at the photos and VIN. Decide if you’re using used parts, aftermarket, or OEM. That decision changes both parts cost and labor. If the listing has a salvage title or a salvage-y damage code, assume panel alignment and sensor work. I always ask: can this be fixed without electronics work? If not, factor in more labor and testing time.
Use quick field rules:
- Small cosmetic: bumper caps, lights, and trim are cheap in parts but eat up labor if alignment or paint is needed.
- Front-end or rear-end: expect suspension checks and possible sensor replacement if airbags deployed.
- Structural tags: these are the traps. They add alignment labor and inspection time.
When I can’t get shop estimates, I use two reference points I’ve seen in auction briefings: a used part can cost around $250, and common shop labor rates fall between roughly $50 and $90 per hour. Paint and materials for multi-panel jobs span from a few hundred to over a thousand dollars depending on scope. Use these as ballpark inputs, then add margin for local shop rates and complexity.
3) Title risk and inspection gaps — the traps that blow margins
Never ignore title type and state rules. A salvage title may limit who will buy your car retail and can increase rework (inspections, paperwork, rebranding). Also read how salvage title brands that kill your flip spread can affect resale and margins. If the vehicle could require a rebuilt title to re-enter the retail market, treat that as a real cost and time delay.
Photos lie. Powertrain and internal damage hide under fenders. If the engine bay photos are limited or missing, assume there’s a chance of internal damage and add a contingency. I usually tack on a contingency specifically for hidden damage; industry notes recommend keeping a consistent buffer. One common guideline used by seasoned buyers is to add a small percentage buffer for unknowns—use a figure you can live with and keep it consistent across bids.
4) Spread and comps — where you find the ARV
ARV comes from comps. But be strict about comp radius and trim level. A low-mileage leather-trim car in your market sells at a different ARV than a base-package unit with higher miles.
Use salvage car comps to bid like a pro when selecting your ARV: salvage car comps: bid like a pro, not a rookie.
Do this:
- Pull comps in a tight radius where you’ll resell it. Pricing varies by area—don’t use a national number.
- Filter for same trim and driveline. If the car is AWD or a V6, don’t use a base 4-cylinder comp.
- Adjust for mileage and recent maintenance history if the listing gives it away.
Your spread (the gap between your max-bid and ARV) must cover all costs plus your profit. If the spread is thin, skip it.
5) Transport, buyer fees, and reconditioning—you must add them
Don’t forget non-repair costs. Auction buyer fees and transport to your yard are real and often undercounted by new buyers. Then there’s lot reconditioning—battery, fluids, basic detailing, and test-drive prep before you list. Those are real cash items and they come first.
Plan transport logistics before you bid. If you need a broker or tow to another state, factor in the extra time and cost. If the car sits at the auction yard for several days waiting pickup, add that holding-time risk into your decision—especially for vehicles that need battery charging or have open recalls.
Mini-case: concrete example with numbers from auction guides
Walkthrough scenario — read this like the one I’d give a partner on the phone.
- ARV in your market for the same trim and miles: pick a realistic retail after-repair price based on local comps.
- Parts: assume a used front bumper or assembly listed in auction notes could be about $250 based on yard parts examples.
- Labor: use a field labor band that’s been cited for shop rates between $50 and $90 per hour when you can’t get a shop estimate.
- Paint/materials: auction write-ups have suggested paint and materials for multi-panel jobs can range from a few hundred to over a thousand dollars depending on scope.
- Hidden-damage buffer: add a contingency buffer for unknowns—many experienced buyers keep a modest percent buffer for this.
Run the numbers in this order: ARV − (parts + labor + paint + transport + buyer fees + contingency) = max bid. If the result doesn’t hit your target margin, don’t bid.
What I check in the last 24 hours before the auction
This is my pre-auction sprint. Do not skip any of these items.
- Re-check VIN photos and make sure engine bay and undercarriage shots exist.
- Confirm title type and state salvage rules where the vehicle is titled.
- Pull fresh comps in your local market for the exact trim and options.
- Call one shop and get a quick sanity-check on labor hours for the visible damage.
- Decide max bid and set your firm limit — don’t chase price after the auction.
Where a salvage flip tool helps
Quick checks catch the big hidden costs. Use a tool that highlights title and sales-history red flags before you wire funds. AutoFlip Pro’s Risk Level Calculation scores a lot using sales history, title type, runs & drives, engine starts, and insurance-seller signals so you can spot high-risk listings before bidding. Try it on one lot to see which details change your contingency and max bid: analyze a lot free before you bid.
Key takeaways
- Build the estimate bottom-up: parts, labor, paint, fees, transport, contingency—then subtract from ARV.
- Use local comps and strict trim filters for ARV; national prices lie.
- Title type and missing photos are deal-breakers if they force large unknowns.
- Set a hard max bid and stick to it—emotions cost more than missed deals.
Checklist: actionable pre-bid steps
If you’re new, use a first salvage flip checklist: 12 steps before you wire to standardize these steps.
- Get VIN, confirm title type, and download all photos.
- Pull 3 local comps for the exact trim and miles.
- Estimate parts (used vs OEM) and mark up labor using your local shop rate.
- Add buyer fees, transport estimate, and a contingency buffer for hidden damage.
- Calculate max bid = ARV − total costs − target profit; set that as your firm limit.
FAQ
How big should my contingency be?
Keep a contingency you can live with. Seasoned buyers I work with often add a modest percentage buffer for hidden damage. Make it consistent so your bids are comparable.
What if the photos don’t show the engine bay?
Treat missing engine-bay photos as a red flag. If you can’t get clear shots, assume there’s a chance of internal or wiring damage and add a larger contingency or pass.
Can I rely on auction-supplied damage codes?
Use them as a starting point, but don’t trust them alone. Damage codes are often generic. Cross-check with photos, VIN notes, and if possible, a yard inspection.
Should I always use used parts to save money?
Not always. Used parts save money on some items but increase labor and fitment risk on others. For collision panels and lights, used can be great. For sensors or modules, OEM may be safer.
When should I walk away?
Walk away if the spread is too tight after honest estimating, if title type limits resale, or if photos and VIN data leave major unknowns. There will always be another car.